 WAR ATLAS MILITARY HISTORY MAGAZINE · WWI — WWII
Battle of Jutland
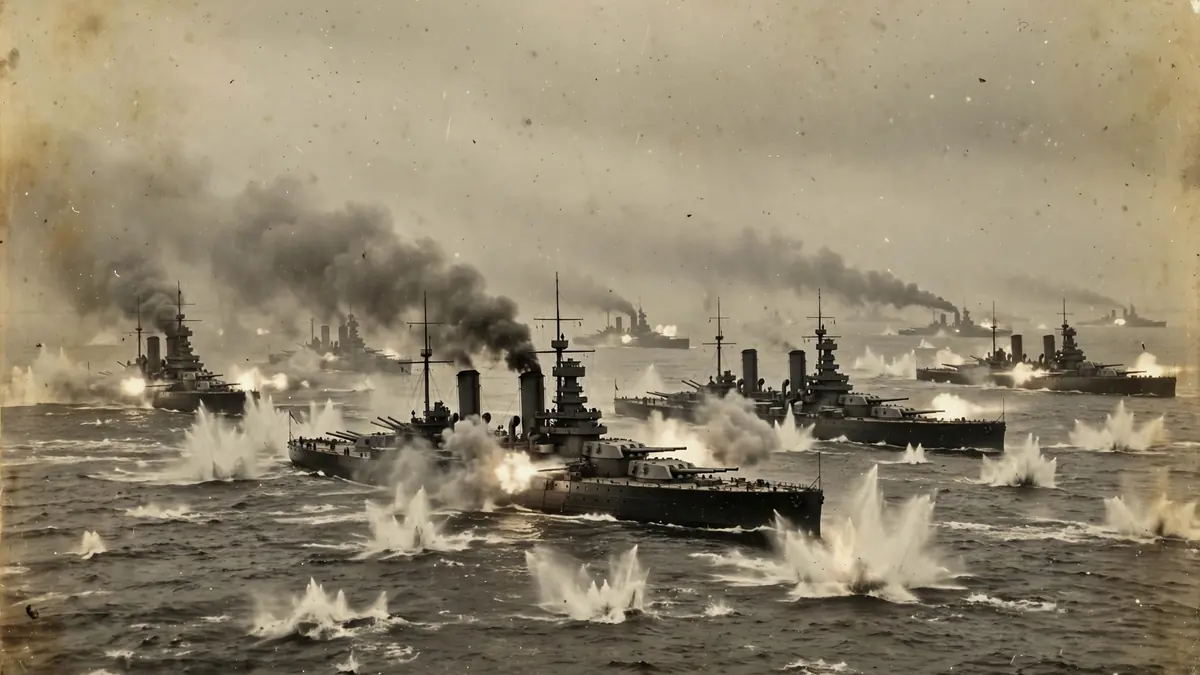
The Battle of Jutland, fought off the west coast of Denmark on 31 May and 1 June 1916, was the largest naval battle of the First World War, and the only time the main fleets of Britain and Germany met in a full-scale fleet action. Some 248 warships took part: the British Grand Fleet, under Admiral Sir John Jellicoe, and the German High Seas Fleet, under Vice Admiral Reinhard Scheer.
The battle was fought in two phases: first, a running battle between the battlecruiser squadrons, in which the British lost three battlecruisers in explosions that killed thousands of men; then, a confused fleet action in the evening, in which Jellicoe crossed Scheer’s line — the classic manoeuvre of naval warfare — and Scheer escaped only by turning his fleet away twice, under cover of darkness and destroyer attacks.
When the battle ended, the British had lost 14 ships and about 6,094 men, and the Germans had lost 11 ships and about 2,551 men. By the simple arithmetic of ships sunk, Germany had won a tactical victory. But by the measure that mattered — command of the sea — Britain had won: the German fleet returned to port and never again challenged the British in a fleet action, and the British blockade of Germany, which was slowly strangling the German war effort, remained in place until the end of the war.
Jutland has been argued about ever since, and the argument has two parts. The first is about Jellicoe: was he too cautious, and did he miss the chance to destroy the German fleet? The second is about the British battlecruisers: why did three of them blow up, and who was to blame? This article sets out what happened at Jutland, why it happened, and why the battle mattered, even though it changed nothing on the surface.
1. Key Facts
| Date | 31 May – 1 June 1916 |
| Location | North Sea, off the Jutland Peninsula, Denmark (Skagerrak approaches) |
| Result | Tactical German victory (fewer losses); strategic British victory (command of the sea retained) |
| British commander | Adm. Sir John Jellicoe (Grand Fleet); Vice Adm. Sir David Beatty (Battle Cruiser Fleet) |
| German commander | Vice Adm. Reinhard Scheer (High Seas Fleet); Rear Adm. Franz von Hipper (Scouting Group) |
| British strength | 28 dreadnought battleships, 9 battlecruisers, 8 armoured cruisers, 26 light cruisers, 78 destroyers (about 149 ships) |
| German strength | 16 dreadnought battleships, 6 pre-dreadnoughts, 5 battlecruisers, 11 light cruisers, 61 torpedo boats (about 99 ships) |
| British losses | 14 ships sunk (3 battlecruisers, 3 armoured cruisers, 8 destroyers); about 6,094 killed |
| German losses | 11 ships sunk (1 battlecruiser, 1 pre-dreadnought, 4 light cruisers, 5 torpedo boats); about 2,551 killed |
2. Background
The naval arms race
The Battle of Jutland was the product of a naval arms race that had begun more than a decade before the First World War. Britain, the world’s greatest sea power, had built the first all-big-gun battleship, HMS Dreadnought, in 1906, and Germany, under Kaiser Wilhelm II and his naval minister, Admiral Alfred von Tirpitz, had responded by building a fleet of dreadnoughts of its own.
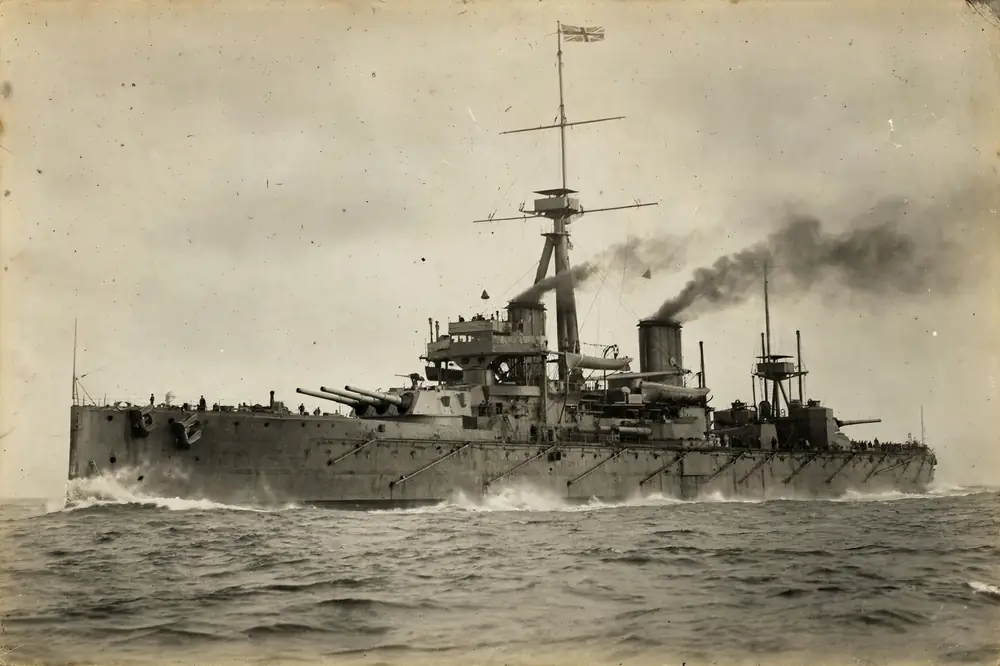
By 1914, Britain had 29 dreadnoughts and Germany had 17, and both sides expected that the war would be decided by a great fleet battle in the North Sea, like the Battle of Trafalgar in 1805. The British Grand Fleet, based at Scapa Flow in the Orkney Islands, was the most powerful fleet in the world, and the German High Seas Fleet, based at Wilhelmshaven, was the second most powerful.
The two fleets had not met in battle by 1916, because the Germans, who were outnumbered, were unwilling to risk their fleet in a battle they might lose, and the British, who had more to lose, were unwilling to risk their fleet in a battle that might end in a draw.
The result was a stalemate at sea, in which the British blockaded Germany and the Germans raided the British coast and waged submarine warfare.
Scheer’s plan
In May 1916, the German fleet commander, Vice Admiral Reinhard Scheer, decided to break the stalemate. His plan was to lure a part of the British fleet — the battlecruiser squadron under Vice Admiral Sir David Beatty — into a trap, and to destroy it with the full strength of the High Seas Fleet.
The German battlecruisers, under Rear Admiral Franz von Hipper, would sail north from Wilhelmshaven, bombard the British coast, and then retreat, drawing Beatty’s battlecruisers after them and into the guns of Scheer’s battleships, which would be waiting over the horizon. The plan depended on surprise, and on the assumption that Jellicoe’s Grand Fleet, which was based at Scapa Flow, would be too far away to intervene in time.
In fact, the British knew what the Germans were planning: the British codebreakers of Room 40, the Admiralty’s signals intelligence unit, had intercepted and decoded German wireless messages, and Jellicoe knew that the High Seas Fleet was at sea. He sailed from Scapa Flow on the evening of 30 May, with the full strength of the Grand Fleet, and he was in position to intercept Scheer on 31 May.
The trap that Scheer had set for Beatty was about to become a trap for Scheer himself.
3. Opposing Forces
The British Grand Fleet
The British Grand Fleet, under Admiral Sir John Jellicoe, was the most powerful fleet in the world. It consisted of 28 dreadnought battleships, 9 battlecruisers, 8 armoured cruisers, 26 light cruisers, and 78 destroyers — about 149 ships in all, with about 60,000 men.
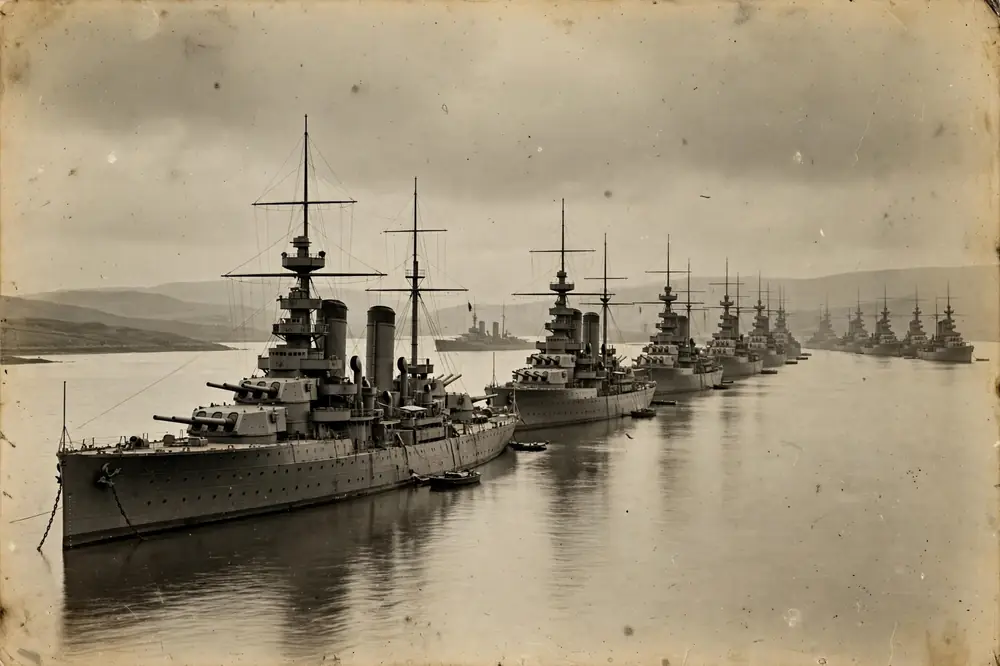
The battleships were the core of the fleet: they carried the heaviest guns, up to 15 inches, and the thickest armour, and they were designed to fight in a line, the classic “line of battle”, in which each ship fired its broadside at the enemy.
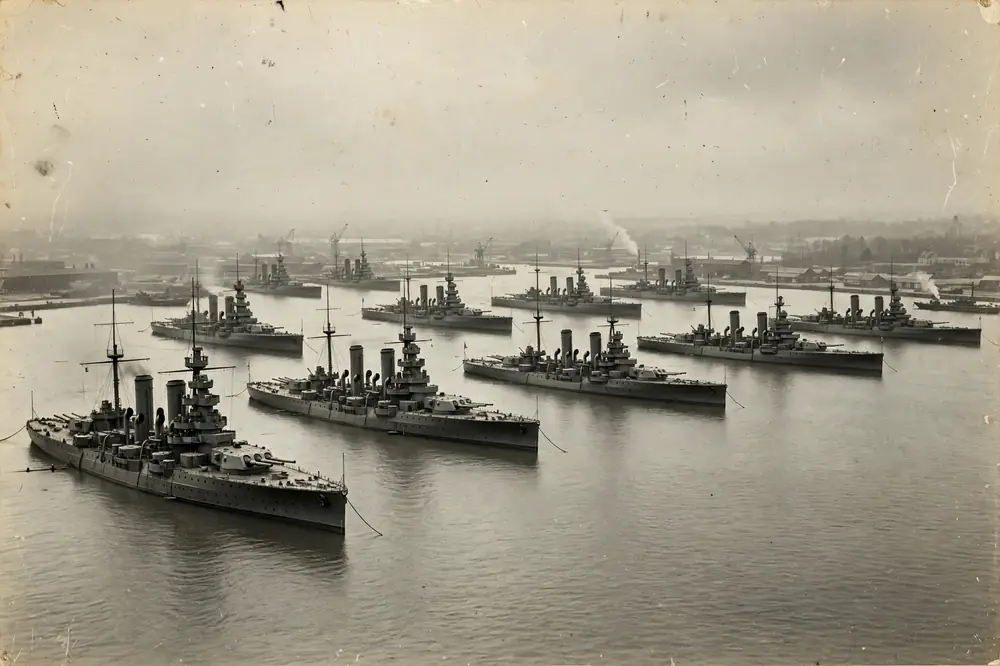
The battlecruisers, under Vice Admiral Sir David Beatty, were faster than the battleships but more lightly armoured: they were designed to scout for the fleet and to chase down enemy cruisers, not to fight in the line of battle. The Grand Fleet also had a great advantage in numbers: it outnumbered the German fleet by about three to two in battleships, and by even more in cruisers and destroyers.
| Britain | Germany | |
|---|---|---|
| Battleships | 28 dreadnoughts / 28 dreadnought | 16 dreadnoughts + 6 pre-dreadnoughts / 16 dreadnought + 6 tiền dreadnought |
| Battlecruisers | 9 / 9 | 5 / 5 |
| Cruisers | 8 armoured + 26 light | 11 light |
| Destroyers / torpedo boats | 78 destroyers | 61 torpedo boats |
| Total ships | About 149 | About 99 |
| Main guns | Up to 15-inch (381 mm) | Up to 12-inch (305 mm) |
The German High Seas Fleet
The German High Seas Fleet, under Vice Admiral Reinhard Scheer, was smaller than the Grand Fleet but well built, well trained, and well led. It consisted of 16 dreadnought battleships, 6 pre-dreadnought battleships, 5 battlecruisers, 11 light cruisers, and 61 torpedo boats — about 99 ships in all, with about 45,000 men.
The German ships were, in some respects, better than the British: they had better armour protection, better damage control, and better shells, and their battlecruisers, in particular, were more heavily armoured than the British battlecruisers. The German fleet also had a great advantage in signals and in gunnery: the German gunners were well trained, and they fired accurately at long range.
The German fleet’s weakness was its numbers: it was outnumbered by the British, and it could not afford to lose ships in a battle of attrition. Scheer’s plan, to lure Beatty into a trap and destroy his battlecruisers, was designed to even the odds, by reducing the British superiority in numbers before the main fleets met.
4. The Battle
The battlecruiser action, 15:48–18:15
The battle began at about 15:48 on 31 May 1916, when the battlecruiser squadrons met, about 100 kilometres west of the Jutland Peninsula. Beatty’s battlecruisers, sailing south, met Hipper’s battlecruisers, sailing north, and the two squadrons opened fire at a range of about 16,000 yards. The German gunnery was better: the Germans hit first and hit often, and within minutes the British battlecruisers were in trouble.
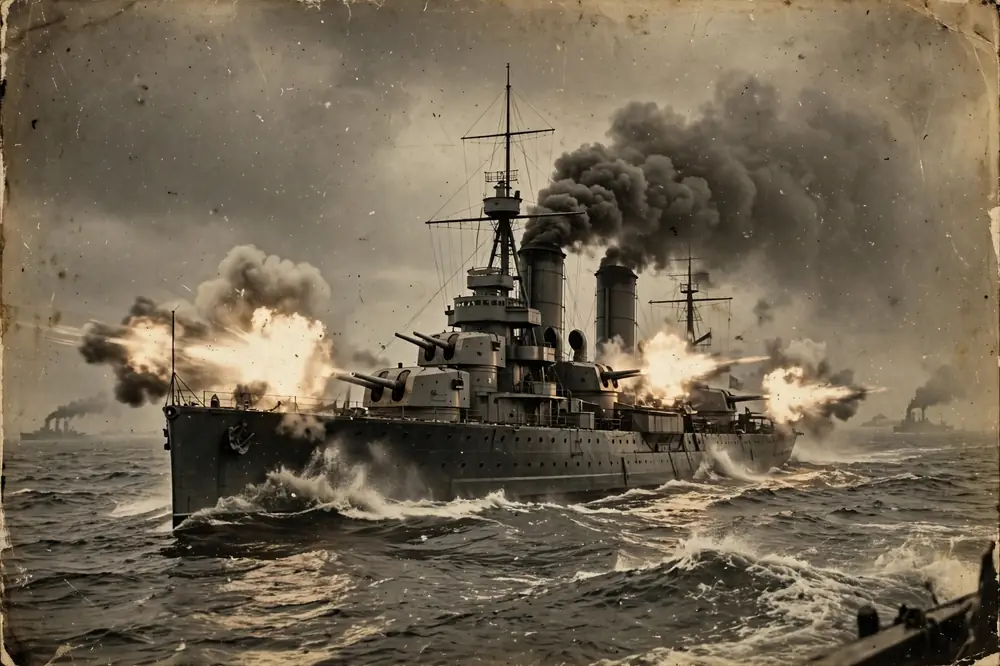
At about 16:00, HMS Indefatigable, the rearmost ship of Beatty’s squadron, was hit by shells from the German battlecruiser Von der Tann, and she blew up, killing all but two of her crew of 1,019 men. At about 16:25, HMS Queen Mary was hit by shells from the German battlecruisers Seydlitz and Derfflinger, and she too blew up, killing 1,266 of her crew of 1,284 men.
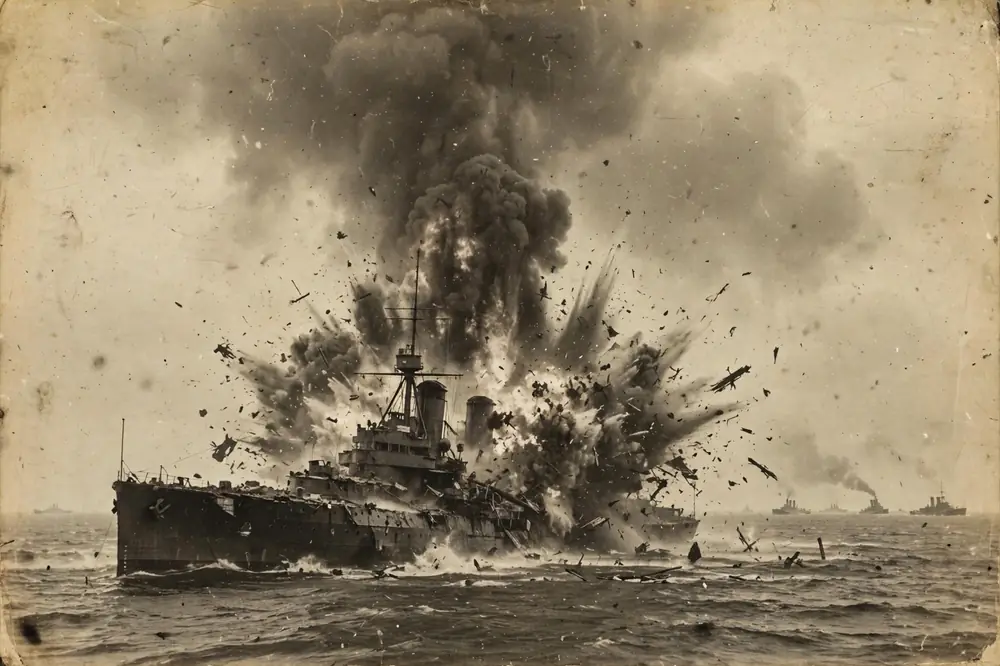
Beatty, watching the two explosions, is said to have turned to his flag captain and remarked: “There seems to be something wrong with our bloody ships today.” The remark has become one of the most famous quotations of the battle, and it is probably accurate in substance, even if the exact wording is not certain.
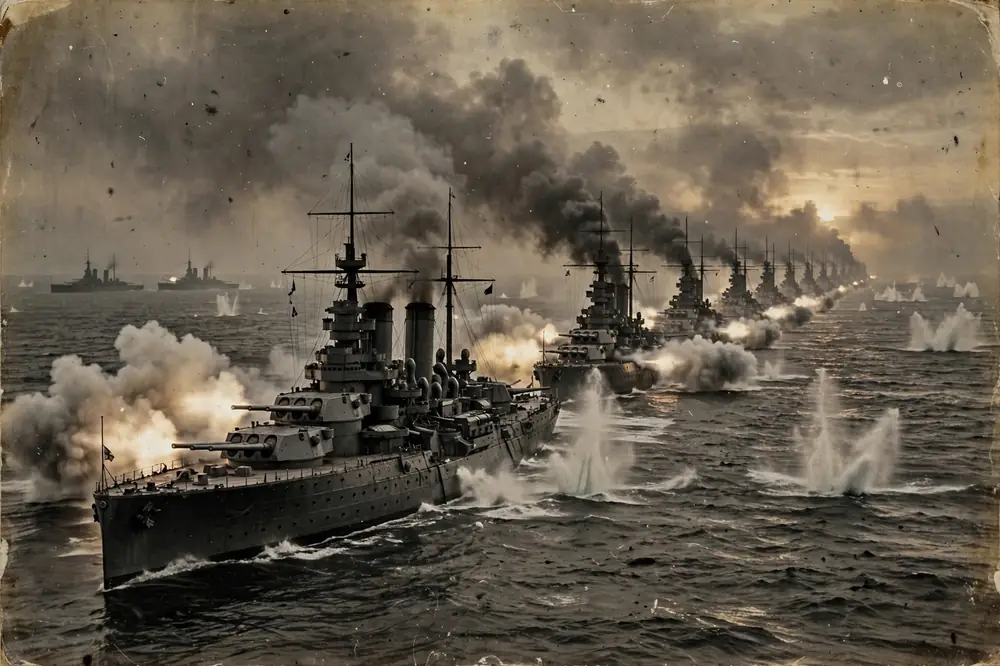
Beatty, who had been sailing south, now turned north, drawing Hipper after him and towards Jellicoe’s Grand Fleet, which was approaching from the north. The running battle continued for another hour, with the British battlecruisers firing at the Germans and the Germans firing back. At about 18:15, the Grand Fleet arrived, and the battle entered its second phase.
The British had lost two battlecruisers and about 2,000 men, and the Germans had lost none of their battlecruisers, though the Seydlitz was badly damaged. The battlecruiser action was a German victory, and it was a disaster for the British: two of their finest ships had been destroyed, with almost all their crews, and the reason for the disaster — the vulnerability of the British battlecruisers to magazine explosions — would not be understood for years.
The fleet action, 18:15–20:15
At about 18:15, Jellicoe’s Grand Fleet deployed into line of battle, crossing the “T” of Scheer’s fleet — the classic manoeuvre of naval warfare, in which the fleet that crosses the enemy’s line can fire its full broadside while the enemy can only fire with its forward guns.
Scheer, realising that he was in a trap, ordered his fleet to turn away, a manoeuvre known as the Gefechtskehrtwendung, or “battle turn away”, in which the whole fleet turned 180 degrees together. The manoeuvre was carried out perfectly, and the German fleet escaped to the west, out of range of the British guns.
But Jellicoe pursued, and at about 19:00 he again crossed Scheer’s line, and Scheer again turned away, this time under cover of a destroyer torpedo attack and of smoke. The second turn away saved the German fleet, but it was a desperate measure: Scheer had turned towards the British fleet in order to turn away from it, and for a few minutes his ships were under the full fire of the Grand Fleet.
The third battlecruiser explosion
During the fleet action, at about 19:25, the British battlecruiser HMS Invincible, the flagship of the 3rd Battle Cruiser Squadron, was hit by shells from the German battlecruisers Lützow and Derfflinger, and she blew up, killing all but six of her crew of 1,032 men.
The explosion of the Invincible was the third British battlecruiser to be lost in the battle, and it was the most shocking, because the Invincible was the first battlecruiser ever built, and she was the pride of the Royal Navy.
The loss of three battlecruisers in a single day was a catastrophe, and it raised questions about the design of the British battlecruisers and about the way they were fought, questions that would be debated for decades.
The loss of the Invincible was the most shocking of the three, because she was the first battlecruiser ever built, and she was the pride of the Royal Navy. Her captain, Captain Charles Fitzgerald Sowerby, went down with his ship, along with all but six of her crew. The explosion was seen for miles, and it was a reminder, if one was needed, of how vulnerable the British battlecruisers were to magazine explosions.
Scheer’s escape in the night
After the second turn away, Scheer ordered his fleet to make for home, sailing south-east towards the German coast. Jellicoe, who did not know where Scheer was going, sailed south, hoping to cut him off, but the two fleets passed each other in the dark, and Scheer slipped through the British line during the night.
There were a series of confused night actions between destroyers and cruisers, in which the British lost several destroyers and the Germans lost the pre-dreadnought Pommern and several other ships, but the main fleets did not meet again. By the morning of 1 June, Scheer was safely back in Wilhelmshaven, and Jellicoe was left with the wreckage of the battle: 14 ships sunk, 6,094 men killed, and a storm of criticism at home.
The night actions were confused and bloody: destroyers and cruisers fought at close range, in the dark, and several ships were sunk on both sides. The British lost several destroyers, and the Germans lost the pre-dreadnought Pommern, which was sunk by a torpedo, with all hands. But the main fleets did not meet again, and by the morning of 1 June, Scheer was safely back in Wilhelmshaven, and Jellicoe was left with the wreckage of the battle.
5. Turning Point
Jellicoe crosses the T
The turning point of the Battle of Jutland was the moment, at about 18:15 on 31 May, when Jellicoe deployed the Grand Fleet into line of battle and crossed the “T” of Scheer’s fleet. For a few minutes, the British had the Germans exactly where they wanted them: the German fleet was sailing into the fire of the whole British line, and it could only reply with the forward guns of its leading ships.
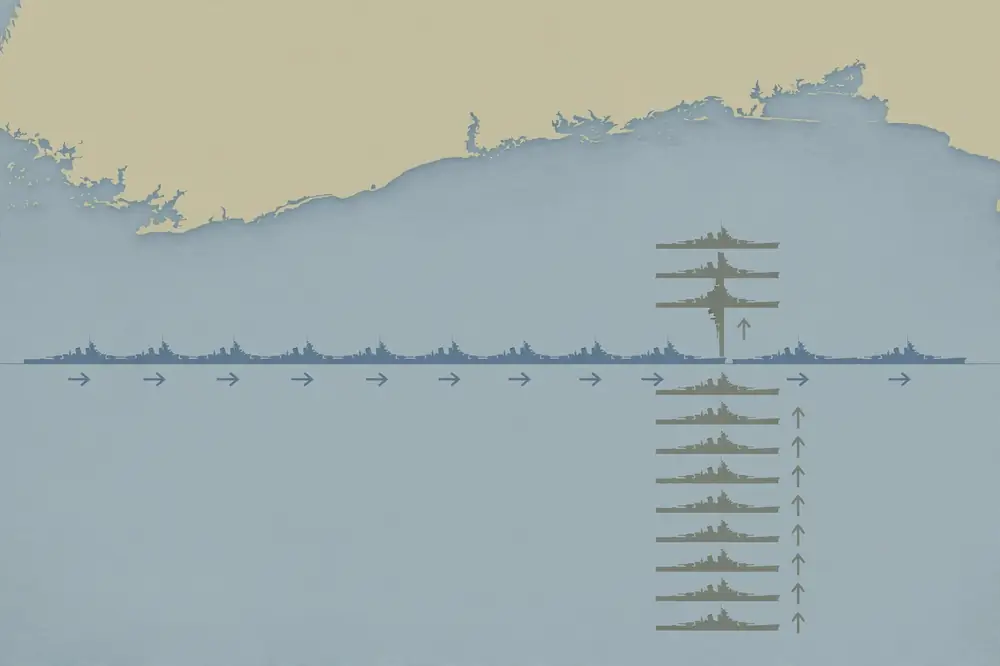
If Jellicoe had been able to hold that position for another half hour, he might have destroyed the German fleet. But Scheer turned away, and the moment passed. The crossing of the T was the high point of the battle for the British, and it was also the moment when the battle was lost — or rather, when it was not won.
Jellicoe had done everything right, and he had still not destroyed the German fleet, because the Germans had a manoeuvre — the battle turn away — that allowed them to escape. The turning point, in that sense, was not a British success but a German escape.
The battle turn away
The second turning point was Scheer’s decision, at about 19:00, to turn his fleet towards the British and then away again, under cover of a destroyer attack. The manoeuvre was a gamble: for a few minutes, the German ships were under the full fire of the Grand Fleet, and they suffered heavily — the Lützow, the German flagship, was so badly damaged that she had to be scuttled, and several other ships were hit.
But the gamble worked: the destroyer attack forced Jellicoe to turn away to avoid the torpedoes, and the German fleet escaped into the darkness. The battle turn away was the manoeuvre that saved the German fleet, and it has been studied ever since as an example of how a weaker fleet can escape a stronger one.
It was also the manoeuvre that ended the battle: after the second turn away, the two fleets did not meet again, and the battle was over.
6. Casualties and Losses
The ships
The casualty figures for Jutland are well documented, because both sides kept careful records, and the figures below are generally accepted by historians. The British lost 14 ships: 3 battlecruisers (Indefatigable, Queen Mary, Invincible), 3 armoured cruisers (Defence, Warrior, Black Prince), and 8 destroyers. The Germans lost 11 ships: 1 battlecruiser (Lützow, scuttled after the battle), 1 pre-dreadnought (Pommern), 4 light cruisers (Frauenlob, Elbing, Rostock, Wiesbaden), and 5 torpedo boats. The British also had several ships badly damaged, including the battlecruisers Lion and Tiger and the battleship Marlborough, and the Germans had several ships badly damaged, including the battlecruisers Seydlitz and Derfflinger.
| Britain | Germany | |
|---|---|---|
| Ships sunk | 14 / 14 | 11 / 11 |
| Battlecruisers sunk | 3 / 3 | 1 (scuttled) |
| Men killed | About 6,094 | About 2,551 |
| Men wounded | About 510 | About 507 |
| Tonnage lost | About 115,000 tons | About 61,000 tons |
The British losses were the heavier, not only in ships but in men: the loss of the three battlecruisers, with almost all their crews, accounted for more than half of the British dead. The German losses were spread more evenly across the fleet, and no German ship lost its entire crew. The table below sets out the losses in detail, and it shows, more clearly than any narrative, the scale of the battle and the price that both sides paid for it.
The men
The human cost of Jutland was heavy, and it fell disproportionately on the British: 6,094 British sailors were killed, compared with 2,551 Germans. The reason for the disparity was the loss of the three battlecruisers, which took almost all their crews with them: the Indefatigable lost 1,017 of 1,019 men, the Queen Mary lost 1,266 of 1,284, and the Invincible lost 1,026 of 1,032.
The explosions were so sudden and so complete that there was no time to abandon ship, and the men died where they stood. The German losses were also heavy, but they were spread more evenly across the fleet, and no German ship lost its entire crew.
The human cost of Jutland is a reminder that naval warfare, for all its talk of ships and guns, is ultimately about men, and that the men who fought at Jutland paid a terrible price.
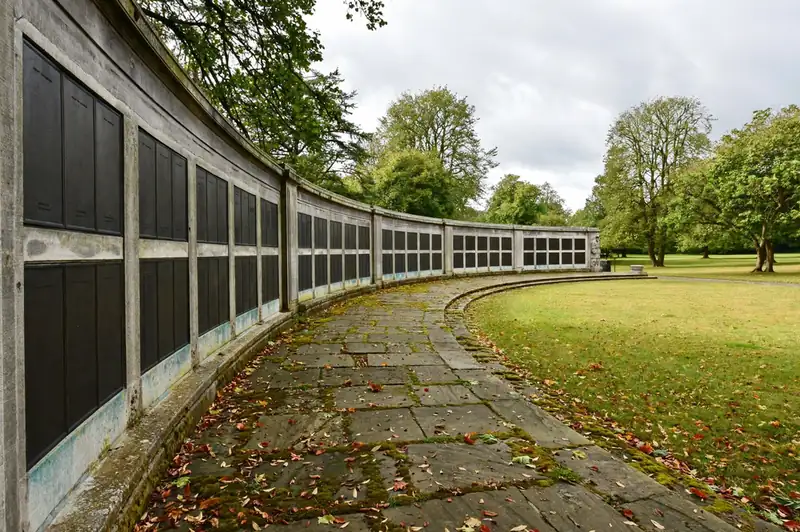
The men who died at Jutland are remembered in the naval memorials at Portsmouth, Plymouth and Chatham, where their names are inscribed on stone panels, and in the churches and villages from which they came. The battle was the largest naval battle of the war, and it was also the bloodiest, and the men who fought it are remembered as the sailors who fought the only great fleet action of the First World War.
7. Map and Geography
The North Sea and the Jutland Peninsula
The Battle of Jutland was fought in the North Sea, off the west coast of the Jutland Peninsula, the mainland of Denmark, about 100 kilometres west of the Danish coast and about 200 kilometres east of the British coast. The sea there is shallow, with a depth of about 40–60 metres, and it is crossed by strong tides and currents.
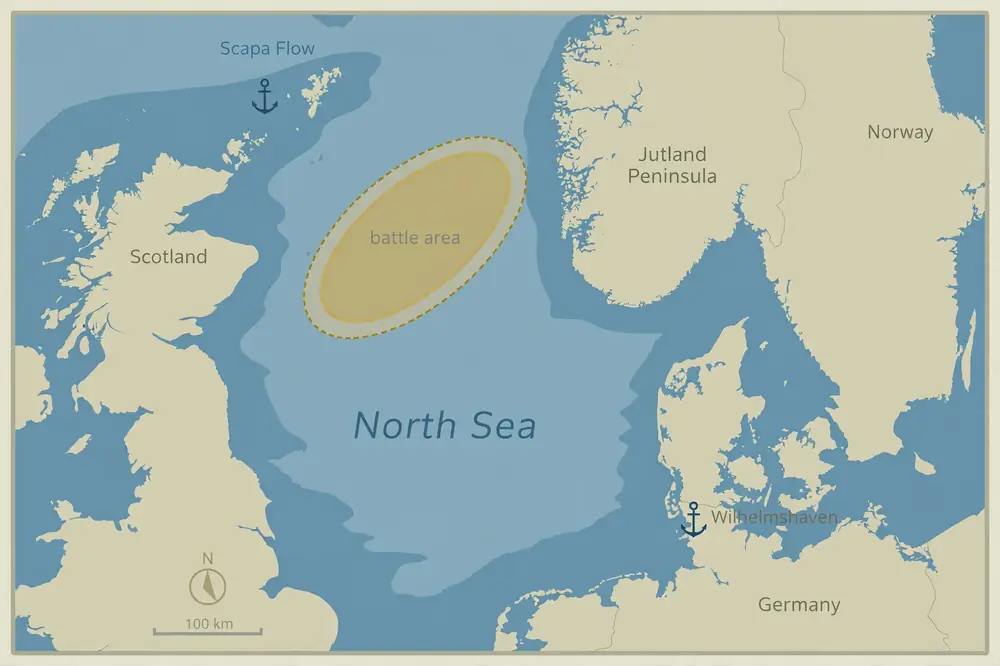
The battle was fought in the Skagerrak approaches, the waters between Denmark and Norway, where the North Sea meets the Baltic. The geography mattered: the Germans had to pass through the Skagerrak to reach the Atlantic, and the British, by blockading the North Sea, could prevent them from doing so.
The battle was fought in daylight in the late afternoon and evening, and in darkness during the night, and the low sun, the haze, and the smoke from the guns made it hard for the gunners to see their targets. The sea itself was calm, with a light wind, and the weather was good for a fleet action — which is why both sides chose to fight there.
Scapa Flow and Wilhelmshaven
The British Grand Fleet was based at Scapa Flow, a natural harbour in the Orkney Islands, off the north coast of Scotland. Scapa Flow was the ideal base for the blockade of Germany: from there, the Grand Fleet could intercept any German ship that tried to break out into the Atlantic, and it could return to port quickly after a sortie.
The German High Seas Fleet was based at Wilhelmshaven, on the Jade estuary on the German North Sea coast. Wilhelmshaven was the main German naval base, and it was protected by minefields, by coastal artillery, and by the German submarine force. The distance between Scapa Flow and Wilhelmshaven was about 600 kilometres, and the two fleets could meet in the middle of the North Sea in about a day’s sailing.
The geography of the North Sea, with its two bases facing each other across a narrow sea, made a fleet battle inevitable, sooner or later, and Jutland was the battle that both sides had been waiting for.
8. Outcome and Legacy of the Battle of Jutland
A tactical victory, a strategic defeat
The outcome of Jutland was, on the surface, a German victory: the Germans had sunk more ships and killed more men than the British, and they had escaped from a trap that should have destroyed them. The German press celebrated the battle as a great victory, and Scheer was hailed as a hero.
But the victory was hollow: the German fleet had not broken the British blockade, it had not gained command of the sea, and it had not changed the strategic situation at all. The British fleet was still in being, still blockading Germany, and still in command of the North Sea. The German fleet, for its part, returned to port and never again challenged the British in a fleet action.
The German naval staff concluded, after Jutland, that the High Seas Fleet could not defeat the Grand Fleet in battle, and they turned instead to unrestricted submarine warfare, which brought the United States into the war in April 1917 and sealed Germany’s fate. Jutland was, in the words of one historian, “the victory that changed nothing”.
The battlecruiser controversy
The legacy of Jutland is dominated by the loss of the three British battlecruisers, and by the question of why they blew up. The official inquiry, which was held after the war, concluded that the battlecruisers were lost because their magazines were not properly protected, and because the British practice of handling cordite — the propellant used in the guns — was unsafe.
The British had, in their eagerness to increase their rate of fire, left the doors between the magazines and the gun turrets open, and they had stacked cordite charges in the turrets, where they could be ignited by a shell hit. When a German shell penetrated a turret, it ignited the cordite, and the fire flashed down into the magazine, which exploded, destroying the ship.
The Germans, by contrast, had learned the lesson of the Battle of Dogger Bank, in January 1915, when the Seydlitz had nearly been destroyed by a magazine fire, and they had improved their magazine protection. The loss of the three battlecruisers was, in the end, a failure of British naval doctrine and of British ship design, and it was a failure that cost the lives of more than 3,000 men.
The Jellicoe controversy
Jutland also left a controversy about Jellicoe, the British fleet commander. His critics, led by Beatty and his supporters, argued that Jellicoe was too cautious, that he should have pursued the German fleet more aggressively, and that he missed the chance to destroy it.
His defenders reply that Jellicoe was right to be cautious: he was responsible for the whole British fleet, and for the blockade of Germany, and he could not risk losing the fleet in a night action or to torpedoes and mines. The controversy went on for decades, and it was not settled until the 1960s, when the official histories were published and the full record of the battle became available.
Most historians now agree that Jellicoe did what he could, that he was right to be cautious, and that the battle was lost — or rather, not won — not because of Jellicoe’s caution but because of the German battle turn away and the limitations of the British battlecruisers.
Jellicoe, who was the only man who could have lost the war in an afternoon, as Churchill put it, did not lose it, and that, in the end, was enough.
9. Commanders
British commanders
Admiral Sir John Jellicoe (Britain). Commander-in-Chief of the Grand Fleet, and the overall British commander at Jutland. Jellicoe was a cautious and methodical officer, and his deployment of the Grand Fleet at Jutland — crossing the T of the German fleet — was a model of fleet tactics. He has been criticised for his caution, but most historians now agree that he was right to be cautious, and that he preserved the fleet that won the war at sea. He later became First Sea Lord, and he died in 1935.
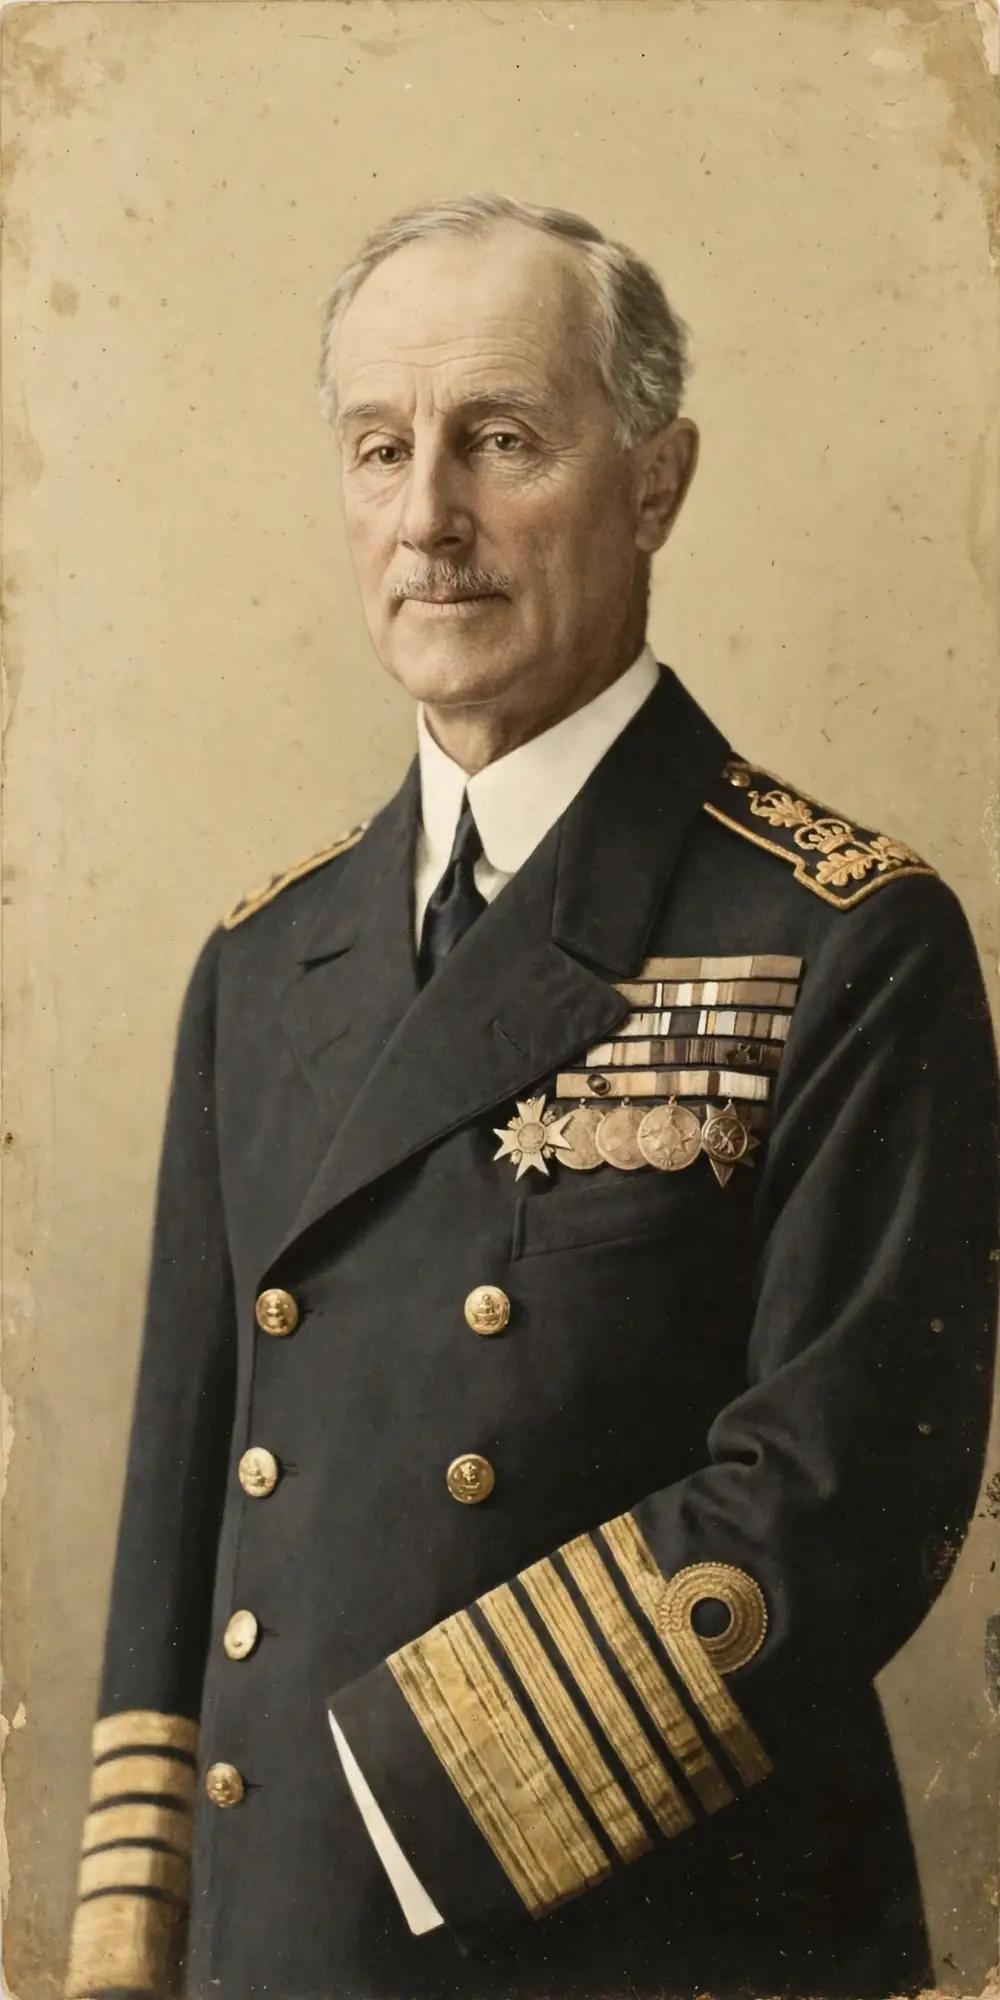
Vice Admiral Sir David Beatty (Britain). Commander of the Battle Cruiser Fleet, and the commander of the first phase of the battle. Beatty was a dashing and aggressive officer, and his battlecruisers bore the brunt of the fighting at Jutland. He lost three of his ships, and he has been criticised for his handling of the battlecruiser action, but he later became Commander-in-Chief of the Grand Fleet and First Sea Lord, and he was one of the most popular admirals in British history.
German commanders
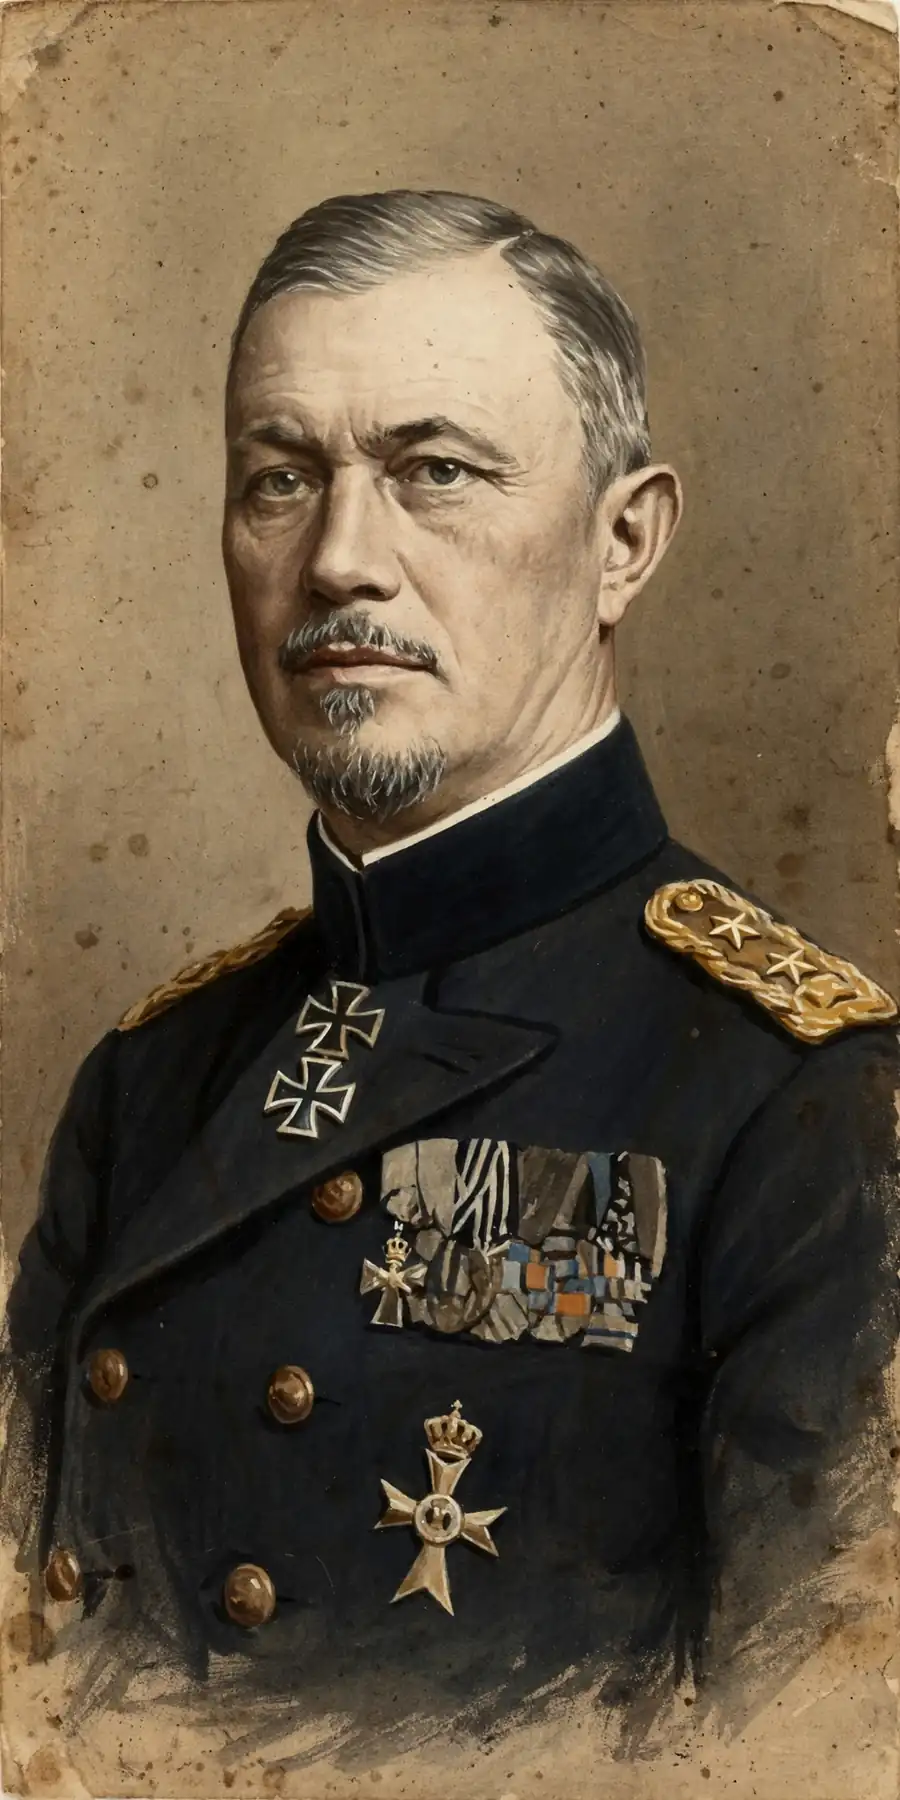
Vice Admiral Reinhard Scheer (Germany). Commander-in-Chief of the High Seas Fleet, and the overall German commander at Jutland. Scheer planned the operation that led to the battle, and his battle turn away saved the German fleet from destruction. He is regarded as one of the ablest German admirals of the war, and he later became Chief of the Naval Staff.
Rear Admiral Franz von Hipper (Germany). Commander of the Scouting Group, the German battlecruisers, and the commander of the first phase of the battle. Hipper’s battlecruisers outfought Beatty’s in the running battle, and they sank two British battlecruisers. He later succeeded Scheer as commander of the High Seas Fleet.
Hipper’s battlecruisers had outfought Beatty’s in the running battle, and they had sunk two British battlecruisers, but they had also suffered heavily: the Seydlitz was badly damaged, and the Lützow was so badly damaged that she had to be scuttled. Hipper later succeeded Scheer as commander of the High Seas Fleet, and he commanded the fleet until the end of the war, when it was scuttled at Scapa Flow in June 1919.
Frequently Asked Questions
When was the Battle of Jutland?
On 31 May and 1 June 1916, off the west coast of Denmark, in the North Sea.
Who won the Battle of Jutland?
Germany won a tactical victory, sinking more ships and killing more men. Britain won a strategic victory, retaining command of the sea and the blockade of Germany. The German fleet never again challenged the British in a fleet action.
Why did three British battlecruisers blow up?
Their magazines were not properly protected, and the British practice of handling cordite was unsafe: the doors between the magazines and the turrets were left open, and cordite charges were stacked in the turrets. A German shell hit ignited the cordite, and the fire flashed down into the magazine, which exploded.
How many ships took part in Jutland?
About 248 warships: about 149 British and about 99 German. It was the largest naval battle of the First World War.
What did Beatty mean by “something wrong with our bloody ships”?
Beatty is said to have made the remark after watching the Indefatigable and the Queen Mary blow up. The exact wording is not certain, but the remark expressed his shock at the loss of two battlecruisers in a few minutes, and at the vulnerability of the British ships.
Why is Jutland important if it changed nothing?
Because it confirmed British command of the sea, which made the blockade of Germany possible, and because it convinced the German naval staff that they could not defeat the Grand Fleet in battle, which led them to turn to unrestricted submarine warfare — and that brought the United States into the war.
Related articles
Sources
- Wikipedia, “Battle of Jutland” — dates, strength, casualty figures and commanders.
- Encyclopædia Britannica, “Jutland, Battle of” — background and outcome.
- John Keegan, The First World War (Hutchinson, 1998) — Jutland and the naval war.
- Andrew Gordon, The Rules of the Game: Jutland and British Naval Command (John Murray, 1996) — the battlecruiser action, Jellicoe and Beatty.
- Arthur J. Marder, From the Dreadnought to Scapa Flow, Vol. III (Oxford University Press, 1966) — the official history of the Royal Navy in the First World War.
- V. E. Tarrant, Jutland: The German Perspective (Arms and Armour, 1995) — the German view of the battle.
- Imperial War Museum, Jutland collection — photographs, ship models and personal accounts.
Further reading
- Nigel Steel and Peter Hart, Jutland 1916: Death in the Grey Wastes (Cassell, 2003).
- Robert K. Massie, Castles of Steel: Britain, Germany, and the Winning of the Great War at Sea (Random House, 2003).