 WAR ATLAS MILITARY HISTORY MAGAZINE · WWI — WWII
Battle of Midway
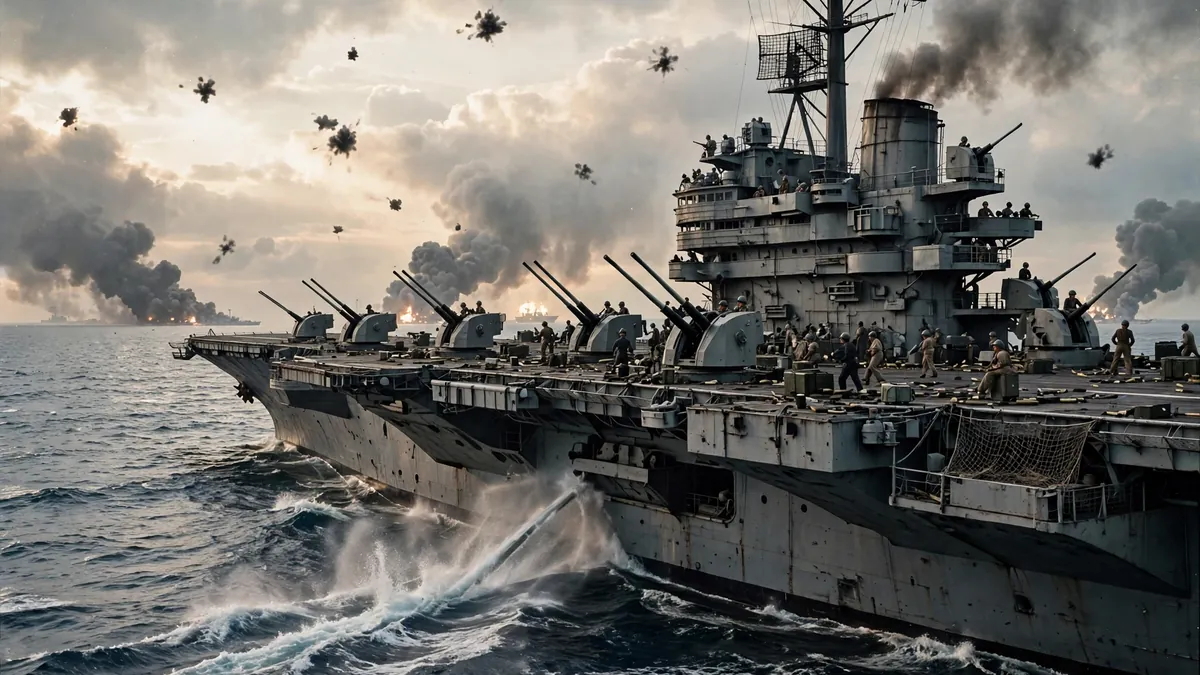
The Battle of Midway, fought 4–7 June 1942 near Midway Atoll in the central Pacific, was a decisive American naval victory: the United States Navy sank all four Japanese fleet carriers present — Akagi, Kaga, Sōryū and Hiryū — at the cost of one American carrier, Yorktown. Japan lost 3,057 men and 248 aircraft; the United States lost 307 men and about 150 aircraft. The battle ended Japan’s offensive in the Pacific and is widely regarded as the turning point of the Pacific War.
1. Key Facts
| Category | Details |
|---|---|
| Date | 4–7 June 1942 |
| Location | Near Midway Atoll, central Pacific, about 1,300 miles (2,100 km) northwest of Honolulu |
| Result | Decisive American victory |
| United States commanders | Admiral Chester W. Nimitz (Commander in Chief, Pacific Fleet); Rear Admiral Frank Jack Fletcher (Task Force 17, tactical command); Rear Admiral Raymond Spruance (Task Force 16) |
| Japanese commanders | Admiral Isoroku Yamamoto (Commander in Chief, Combined Fleet); Vice Admiral Chuichi Nagumo (1st Air Fleet, carrier striking force) |
| United States strength | 3 fleet carriers, 233 carrier-based aircraft, 127 land-based aircraft |
| Japanese strength | 4 fleet carriers, 248 carrier-based aircraft |
| United States losses | 1 carrier and 1 destroyer sunk, about 150 aircraft destroyed, 307 killed |
| Japanese losses | 4 carriers and 1 heavy cruiser sunk, 248 aircraft destroyed, 3,057 killed |
2. Background
Six months earlier, Japan had opened the Pacific War with the Attack on Pearl Harbor (7 December 1941). The raid sank or damaged eight American battleships, but the three American aircraft carriers in the Pacific were at sea and escaped. Admiral Yamamoto, who had planned Pearl Harbor, knew the war would not be won until those carriers were destroyed.
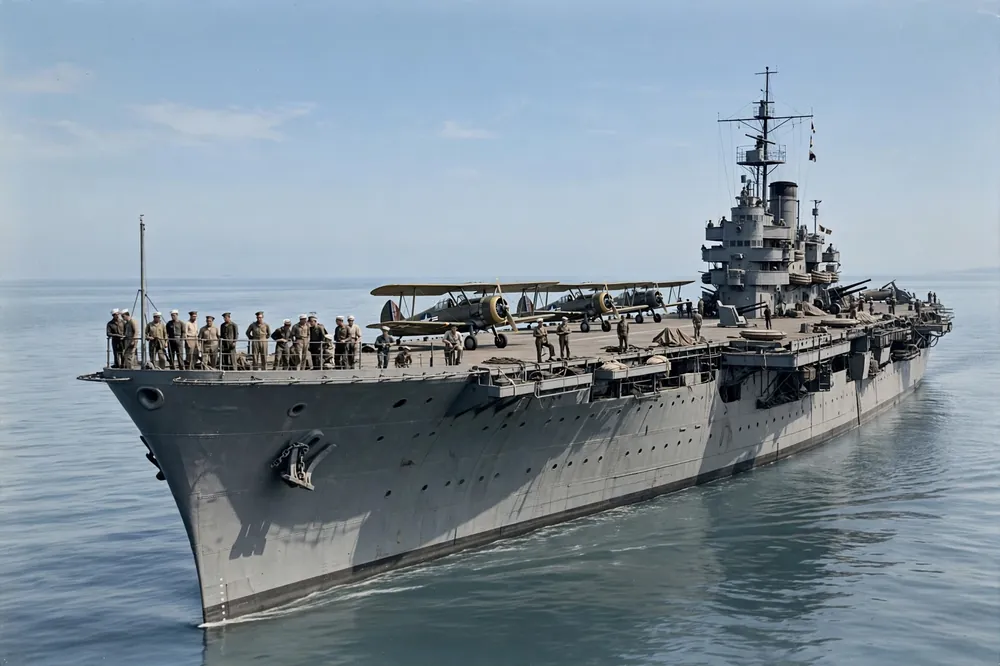
By the spring of 1942, Japan had conquered a vast area — from Manchuria and China to Southeast Asia and the western Pacific, including Wake Island, taken in December 1941 — but its leaders disagreed about what to do next. Yamamoto wanted a decisive fleet battle. His plan, Operation MI, was to invade Midway Atoll, a small American base at the far western end of the Hawaiian island chain. He expected the United States to send its carriers to defend Midway, and he intended to ambush and sink them with a far larger fleet, including the battleship Yamato, the largest warship ever built.
Two events in the spring of 1942 shaped the battle. The first was the Battle of the Coral Sea (7–8 May 1942), the first naval battle in history fought entirely by aircraft, in which the opposing ships never saw each other. The American carrier Lexington was sunk and Yorktown badly damaged, but Japan’s invasion of Port Moresby was stopped, and the Japanese carrier Shōkaku was damaged and Zuikaku lost so many aircraft that both missed Midway. The second was the Doolittle Raid (18 April 1942), when American bombers launched from the carrier Hornet struck Tokyo. The raid did little physical damage, but it embarrassed Japan’s leaders and made Yamamoto’s plan to push the defensive perimeter eastward easier to sell.
Japan’s plan had a second part: a diversionary attack on the Aleutian Islands off Alaska, meant to draw American forces north. It did not work. The Americans knew where the real blow was coming.
The United States did not meet the Japanese at Midway by luck. American cryptanalysts at Station Hypo, the Navy’s codebreaking unit at Pearl Harbor led by Lieutenant Commander Joseph Rochefort, had been reading parts of Japan’s main naval operational code, JN-25, since early 1942. By May, intercepted messages showed that Yamamoto was preparing a major operation against a place identified only by the code letters “AF”.
Rochefort was convinced “AF” was Midway, but Washington was not. To prove it, his team arranged a ruse: the Midway garrison sent a radio message in plain language reporting that the atoll’s seawater distillation plant had broken down and fresh water was running short. Within days, an intercepted Japanese message reported that “AF is short of water”. The trap worked — “AF” was Midway, and the attack was coming in early June.
Armed with this intelligence, Admiral Nimitz positioned his three carriers northeast of Midway to lie in wait. The Japanese, who believed their codes were secure, sailed into an ambush they did not expect.
Japan’s Midway plan had a second part, Operation AL — a diversion in the far north. While Nagumo’s carriers sailed for Midway, a smaller Japanese force, the Second Mobile Force under Rear Admiral Kakuji Kakuta, would strike the American base at Dutch Harbor in the Aleutian Islands, Alaska, and land troops on the western Aleutian islands of Attu and Kiska.
The attack on Dutch Harbor was timed for 3 June, one day before the attack on Midway, to confuse the Americans about where the main blow was coming and to draw American forces north, away from Midway. The occupation of Attu and Kiska would also extend Japan’s defensive perimeter in the North Pacific.
By 1 June, the American military contingent in the Aleutians numbered about 2,300, and on 2 June a patrol plane spotted the Japanese force 800 miles southwest of Dutch Harbor — but the Americans did not know whether the main attack would fall on Alaska or on Midway.
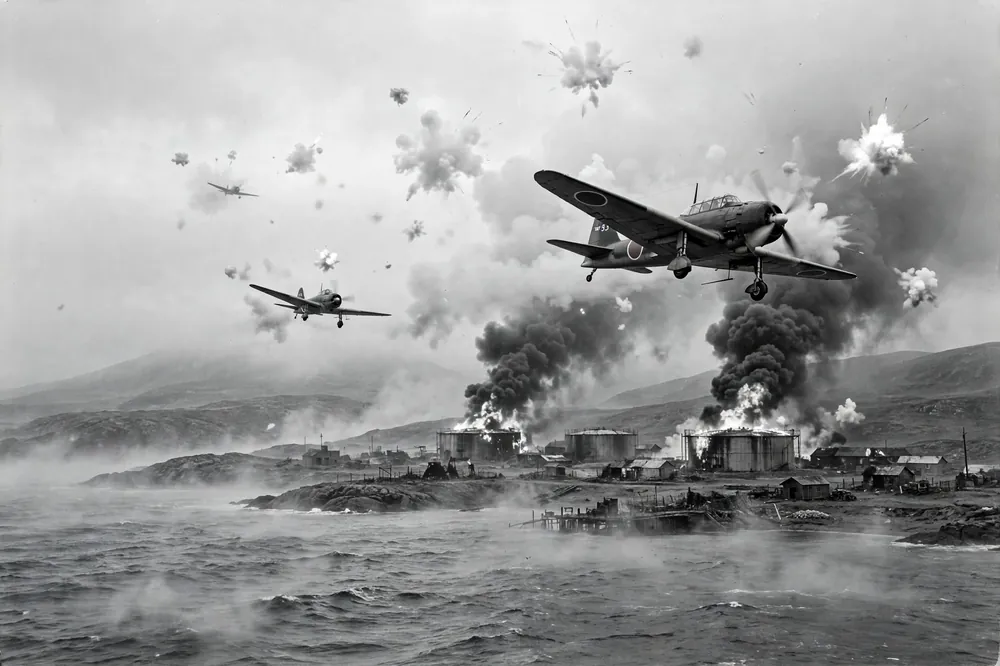
The force was small but real: two light carriers, Ryujo and Junyo, two heavy cruisers and three destroyers, with about 80 aircraft between the two carriers. On 3 June, Kakuta’s aircraft attacked Dutch Harbor. Fog and low cloud — the usual weather in the Aleutians — kept most of the Japanese planes from finding the target; only the aircraft from Ryujo reached the harbour, while Junyo‘s planes turned back.
They damaged oil storage tanks, barracks and a hospital, and destroyed the station ship Northwestern, which they mistook for a warship. A second attack on 4 June, by about 32 aircraft, did more damage to the base. In the two days of attacks, 43 Americans were killed and 50 wounded. The Japanese lost 8 aircraft destroyed and one captured.
One of the Japanese aircraft lost on 4 June mattered far beyond the Aleutians. A Mitsubishi A6M Zero fighter, flown by Petty Officer Tadayoshi Koga, was damaged by ground fire and crash-landed on Akutan Island, about 20 miles northeast of Dutch Harbor. Koga was killed, but his aircraft came down almost intact in a peat bog. American forces recovered it a month later, repaired it and test-flew it. The “Akutan Zero”, as it became known, gave American engineers and pilots their first close look at the fighter that had dominated the Pacific air war, and the information shaped American fighter tactics for the rest of the war.
On 5 June, the day after the carriers were lost at Midway, Kakuta was ordered to break off the attacks and sail for the central Pacific to support the retreating Combined Fleet. Two days later, Japanese troops landed on Kiska (6 June) and Attu (7 June) and occupied both islands without a fight. The diversion had failed in its main purpose: Nimitz, reading the Japanese codes, knew Midway was the real target, and no American forces were sent north. The two light carriers, Ryujo and Junyo, missed the decisive battle entirely.
The occupation lasted about a year. American forces recaptured Attu in May 1943 after hard fighting — about 2,400 Japanese troops were killed and only 25 captured, against 566 Americans killed and 1,442 wounded. Kiska was evacuated by the Japanese in secret on 28–29 July 1943; when American and Canadian troops landed in August, they found the island empty, though 92 men died from friendly fire and a mine. The Aleutian campaign was the only one of the war fought on North American soil, and its most lasting result was not territory but the Akutan Zero.
3. Opposing Forces
The two fleets were not evenly matched on paper. Japan brought more ships and more aircraft. The United States brought better intelligence — and a plan.
| United States | Japan | |
|---|---|---|
| Fleet carriers | 3 — Enterprise, Hornet, Yorktown | 4 — Akagi, Kaga, Sōryū, Hiryū |
| Battleships in the battle area | 0 | 2 (with the carrier striking force; 5 more with Yamamoto’s main body, which did not reach the battle) |
| Cruisers and destroyers | 7 heavy cruisers, 1 light cruiser, 15 destroyers | 2 heavy cruisers, 1 light cruiser, 12 destroyers (striking force) |
| Carrier-based aircraft | 233 | 248 |
| Land-based aircraft | 127 (on Midway and from Hawaii) | 16 floatplanes |
| Submarines | 16 | 13 |
| Overall commander | Adm. Chester W. Nimitz | Adm. Isoroku Yamamoto |
| Tactical commander at sea | Rear Adm. Frank Jack Fletcher (TF 17); Rear Adm. Raymond Spruance (TF 16) | Vice Adm. Chuichi Nagumo (1st Air Fleet) |
All four Japanese carriers had taken part in the Attack on Pearl Harbor. The American carrier Yorktown had been damaged at Coral Sea a month earlier and was patched up at Pearl Harbor in about three days — a repair the Japanese did not believe was possible, and one reason they expected to face only two American carriers.
The Japanese also split their forces. Besides the four carriers under Nagumo, Yamamoto kept a main body of battleships — including Yamato — hundreds of miles behind, and sent two light carriers and other ships toward the Aleutians. Neither group reached the battle in time to matter.
4. The Battle
American patrol aircraft from Midway sighted Japanese ships southwest of the atoll — the invasion convoy. Nine B-17 bombers from Midway attacked the transports that night without result, but the contact confirmed that the Japanese were coming on schedule.
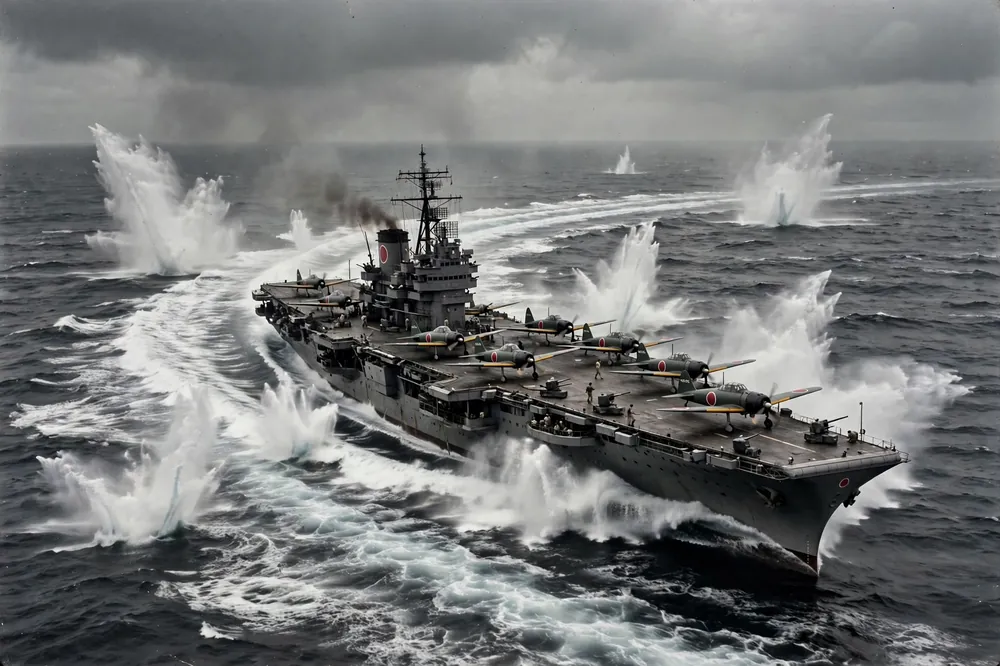
At about 04:30, Nagumo launched a first strike of 108 aircraft against Midway. American fighters from the atoll intercepted them 30 miles out, and Marine and Army bombers from Midway attacked the Japanese fleet through the morning. The strike damaged Midway’s facilities but did not put the airfield out of action, and Nagumo’s pilots reported that a second strike on the island would be needed.
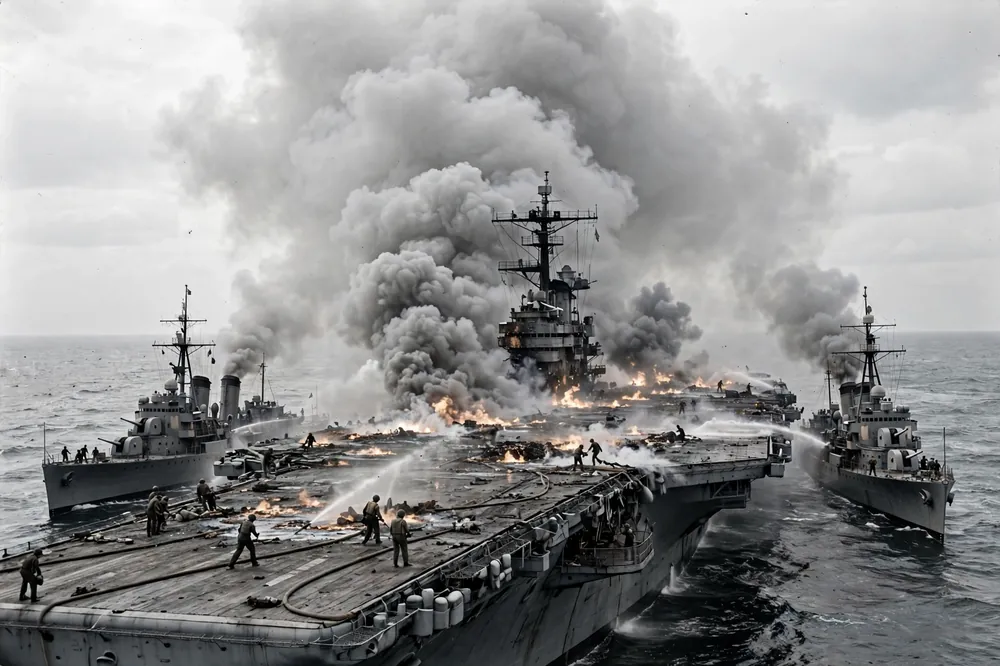
That report created a difficult dilemma for Nagumo. His reserve aircraft were armed with torpedoes for a strike against American ships. To hit Midway again, they had to be rearmed with bombs. Nagumo ordered the rearming — and then, at about 07:45, a scout plane reported American ships to the northeast. The order was reversed again. For more than an hour, Japanese carriers steamed with their hangar decks crowded with armed and fuelled aircraft, caught between two missions.
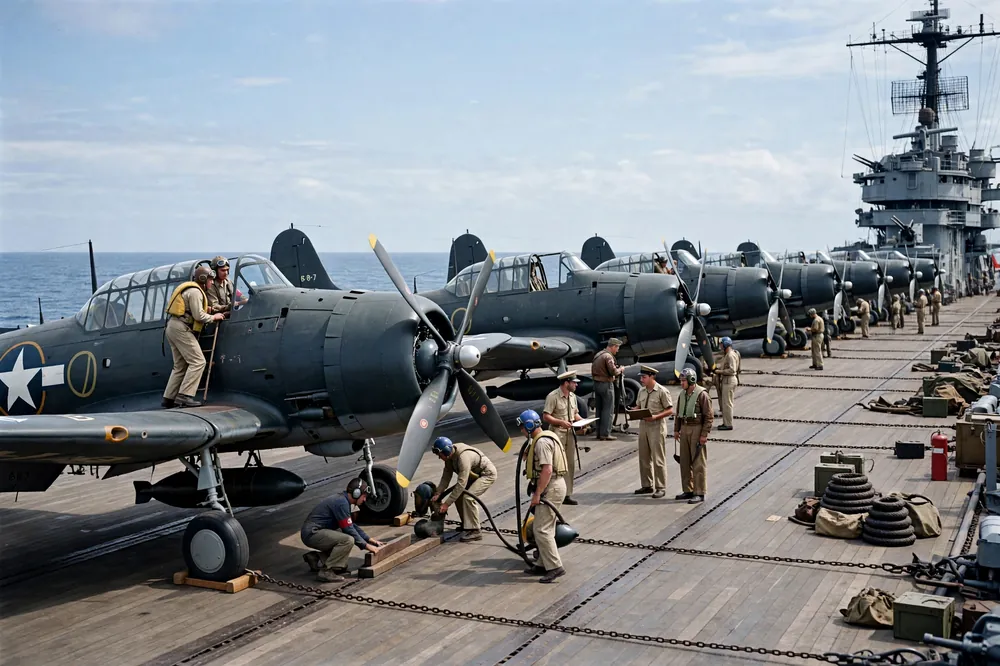
Meanwhile, the American carriers had launched their own strike. At about 07:00, Spruance sent the dive bombers and torpedo bombers of Enterprise and Hornet toward the Japanese fleet. Fletcher followed with Yorktown‘s air group.
The American torpedo squadrons found the Japanese first — and suffered heavy losses. Torpedo Squadron 8 from Hornet, led by Lieutenant Commander John Waldron, attacked alone, without fighter cover, in slow and obsolete TBD Devastator aircraft. All 15 of its planes were shot down. Only one man survived: Ensign George Gay, who watched the rest of the battle from the water. Torpedo Squadron 6 from Enterprise lost 10 of its 14 aircraft; Torpedo Squadron 3 from Yorktown lost all but two.
Not one American torpedo hit a ship that morning. But the attacks had an effect. They pulled the Japanese combat air patrol down to sea level, left the carriers’ decks crowded with aircraft being refuelled and rearmed, and delayed Nagumo’s counterstrike.
The fourth Japanese carrier, Hiryū, was untouched and still dangerous. Her aircraft found Yorktown that afternoon and hit her with three bombs, then with torpedoes in a second strike. Yorktown was badly damaged and abandoned — but she stayed afloat.
Late in the afternoon, American dive bombers from Enterprise found Hiryū and hit her with four bombs. She burned through the night, was abandoned, and was scuttled early on 5 June. Her commander, Rear Admiral Tamon Yamaguchi, went down with the ship. With all four carriers gone, Yamamoto cancelled the invasion of Midway.
American aircraft pursued the retreating Japanese fleet. Dive bombers caught the heavy cruisers Mogami and Mikuma, which had collided during the night while trying to avoid a submarine. Mikuma was sunk on 6 June; Mogami was heavily damaged but escaped. Akagi sank before dawn on 5 June.
Yorktown was taken in tow toward Pearl Harbor, but on 6 June the Japanese submarine I-168 slipped through the American screen and torpedoed her — and the destroyer Hammann, which was alongside giving power. Hammann sank within minutes. Yorktown finally capsized and sank at dawn on 7 June. The battle was over.
5. Turning Point
At about 10:25 on the morning of 4 June, the battle turned in minutes. Lieutenant Commander Wade McClusky’s dive bombers from Enterprise — 32 SBD Dauntlesses of Bombing Squadron 6 and Scouting Squadron 6 — had been searching empty ocean and running low on fuel when McClusky spotted the Japanese destroyer Arashi racing to rejoin her fleet after depth-charging the submarine Nautilus. He followed her wake straight to the Japanese carriers.
At almost the same moment, Bombing Squadron 3 from Yorktown, led by Lieutenant Commander Maxwell Leslie, arrived from another direction. With the Japanese fighters still at low altitude finishing off the torpedo planes, the dive bombers attacked unopposed. Kaga was hit first and set ablaze.
Lieutenant Richard Best, leading a section of Bombing Squadron 6, broke away from the attack on Kaga and dived on the flagship Akagi instead; a single bomb pierced her flight deck and exploded among the armed and fuelled aircraft in her hangar. Sōryū was hit by Yorktown‘s bombers at the same time.
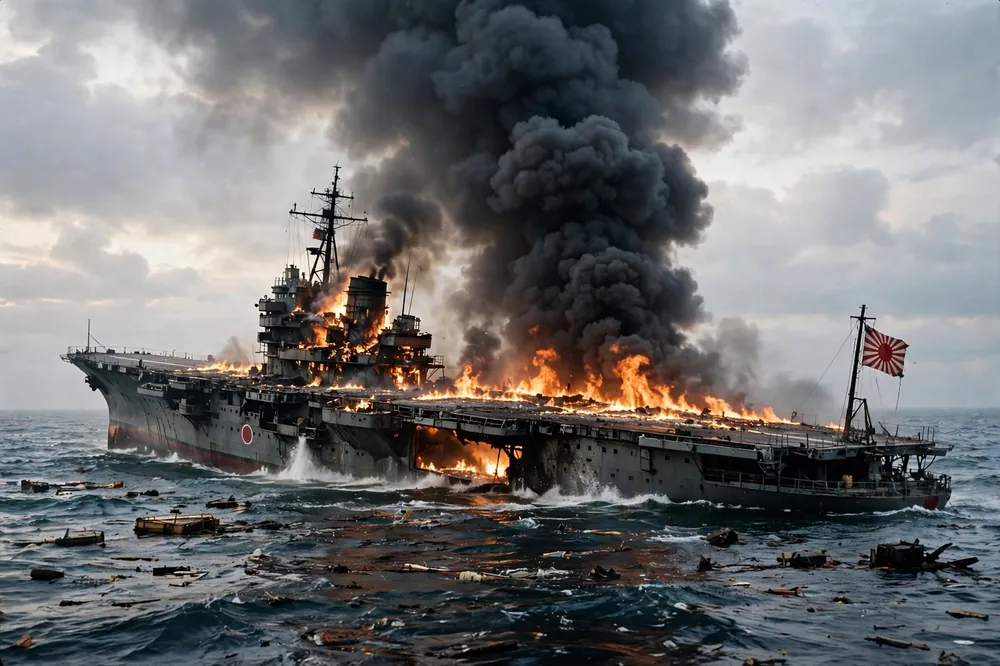
Within minutes, three of Japan’s four fleet carriers were burning wrecks. Kaga and Sōryū sank that afternoon; Akagi sank before dawn the next day.
Five minutes of dive bombing decided the battle — but only because the torpedo squadrons had first drawn the Japanese fighters down to sea level, and only because Nagumo’s carriers were caught with their decks full of armed and fuelled aircraft, halfway through rearming. The turning point was the product of intelligence, the torpedo squadrons’ attacks and timing.
6. Casualties and Losses
The battle’s losses were very uneven. Japan lost four fleet carriers — a quarter of its carrier strength — and the trained aircrew that went with them. The United States lost one carrier and one destroyer.
| United States | Japan | |
|---|---|---|
| Fleet carriers sunk | 1 — Yorktown | 4 — Akagi, Kaga, Sōryū, Hiryū |
| Other warships sunk | 1 destroyer — Hammann | 1 heavy cruiser — Mikuma (heavy cruiser Mogami badly damaged) |
| Aircraft destroyed | About 150 | 248 |
| Killed | 307 | 3,057 |
The dead were not evenly spread. Aboard the four Japanese carriers, 2,181 men died: 267 on Akagi, 811 on Kaga, 711 on Sōryū and 392 on Hiryū, including Rear Admiral Yamaguchi. A further 700 died on Mikuma and 92 on Mogami. Japan also lost about 110 of its trained carrier aircrew — pilots and aircrew who took years to train and could not be replaced quickly. (Note: the figure of about 110 trained carrier aircrew follows Parshall & Tully, Shattered Sword; it has not been independently cross-checked against the original source.) The United States lost 307 men, including the crews of the torpedo squadrons and the men of Yorktown and Hammann.
7. Map and Geography
Midway Atoll is a pair of small islands — Sand Island and Eastern Island — at the far western end of the Hawaiian archipelago, about 1,300 miles northwest of Honolulu and roughly 2,500 miles from Tokyo. The atoll is little more than a coral reef with a lagoon, but in 1942 it held an airfield and a naval air station, and it sat astride the sea routes between Hawaii and Asia. Whoever held Midway could watch, and threaten, the central Pacific.
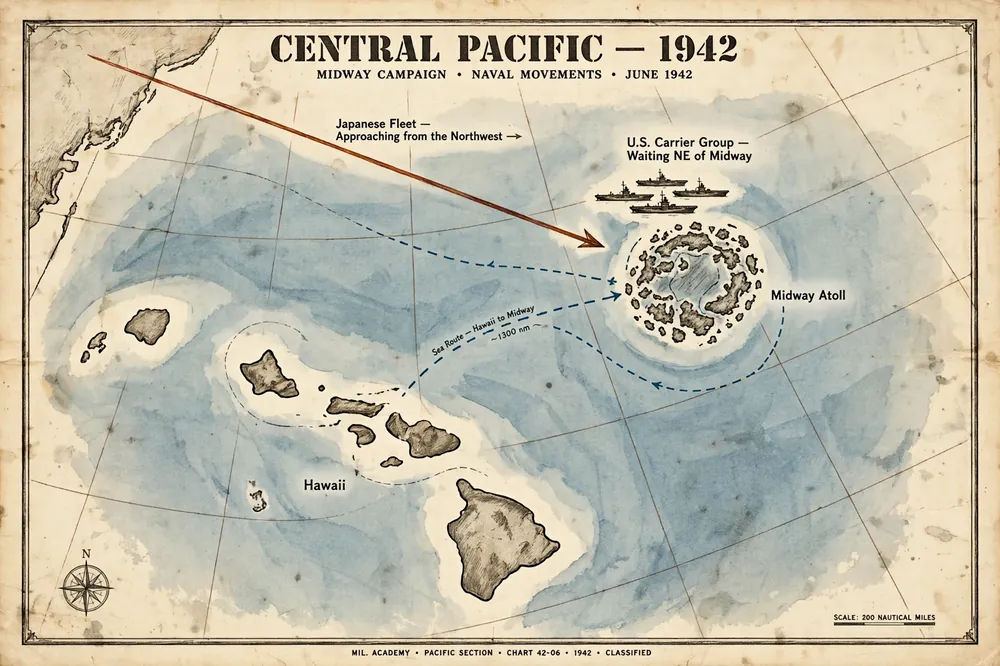
The battle itself was fought at sea, not on the islands. The Japanese carriers approached from the northwest; the American carriers waited about 200 miles northeast of the atoll, between the Japanese fleet and Hawaii. The fighting on 4 June took place in a patch of ocean roughly 150 miles northwest of Midway — close enough that aircraft from the atoll could reach the Japanese fleet, and far enough that the Japanese never saw the American carriers until their own ships were already burning.
8. Outcome and Legacy
Midway did not end the war — three more years of hard fighting followed, beginning with the Battle of Guadalcanal two months later, including the night action at Savo Island. But it ended the phase of the war in which Japan attacked and the United States reacted. After Midway, the initiative passed to the Americans, and Japan never again mounted a major offensive in the central Pacific.
Three things made the battle decisive.
First, the ships. Japan entered the war with six fleet carriers; after Midway it had two. The four lost at Midway — Akagi, Kaga, Sōryū and Hiryū — were the core of the force that had attacked Pearl Harbor. Japan built new carriers during the war, but it could not build them fast enough, and it never again had enough to match the American shipyards, which were already turning out new Essex-class fleet carriers faster than Japan could replace its losses.
Second, the aircrew. The loss of trained aircrew mattered at least as much as the loss of ships. Japan’s carrier pilots were a small group that had trained for years before the war. About 110 of them died at Midway (per Parshall & Tully, Shattered Sword; not independently cross-checked against the original source), and the training system that produced them could not replace them at anything like the rate the United States trained its own pilots. From Midway on, Japanese naval aviation grew steadily weaker while American naval aviation grew stronger.
Third, the intelligence. Midway was a victory of intelligence as much as of ships and aircraft. The codebreakers at Station Hypo told Nimitz where, when and with what strength the Japanese were coming. Nimitz was able to concentrate his weaker force at the right place and time, and to ambush an enemy that did not expect an ambush. Japan never learned that its codes had been broken.
Historians note that the battle showed, for the second time after Coral Sea, that the aircraft carrier had replaced the battleship as the decisive weapon at sea. At Midway, as at Coral Sea, the opposing fleets never came within gun range of each other. The battle was fought — and decided — entirely by aircraft.
9. Commanders
United States. Admiral Chester W. Nimitz, Commander in Chief of the Pacific Fleet, made the decision to trust his codebreakers and to risk his three carriers in an ambush. Rear Admiral Frank Jack Fletcher, in tactical command at sea, launched the first American strikes from Yorktown. Rear Admiral Raymond Spruance, commanding Task Force 16 (Enterprise and Hornet), launched the attack early, before the Japanese were ready — a decision many historians credit with winning the battle.
Japan. Admiral Isoroku Yamamoto, commander of the Combined Fleet, designed the operation but stayed with the battleship main body hundreds of miles behind the carriers. Vice Admiral Chuichi Nagumo, commanding the carrier striking force, was caught between two missions — attacking Midway and preparing for an American fleet he did not expect — and his ships were at their most vulnerable when the American dive bombers arrived. Rear Admiral Tamon Yamaguchi, commanding the 2nd Carrier Division (Hiryū and Sōryū), launched the only effective Japanese counterattack of the day and died aboard Hiryū.
Related articles
FAQ
Sources
- Naval History and Heritage Command, “Battle of Midway: 4–7 June 1942” (history.navy.mil) — dates, result and overview.
- Naval History and Heritage Command, Online Library of Selected Images, “U.S. Carrier Planes Disable Akagi, Kaga and Soryu, 4 June 1942″ (ibiblio.org/hyperwar) — torpedo squadron losses, the 10:25 dive-bomber attack, sinking times of Kaga, Sōryū and Akagi.
- U.S. Navy, “Naval Aviation History: The Battle of Midway” (navy.mil) — force composition, the 4 June air battle, Yorktown‘s sinking on 7 June.
- National Security Agency, Patrick D. Weadon, “The Battle of Midway: How Cryptology Enabled the United States to Turn the Tide” (media.defense.gov) — Station Hypo, JN-25 and the “AF is short of water” ruse.
- History.com, “How Codebreakers Helped Secure U.S. Victory in the Battle of Midway” (2019, updated 2026) — Rochefort, Station Hypo and the identification of “AF” as Midway.
- Wikipedia, “Battle of Midway” — consolidated strength and casualty figures (US: 3 carriers, 233 carrier aircraft, 127 land-based aircraft, 307 killed; Japan: 4 carriers, 248 carrier aircraft, 3,057 killed; per-ship death tolls), cross-checked against the Naval History and Heritage Command.
- Encyclopaedia Britannica, “Battle of Midway” — overview, dates and the battle’s standing as the turning point of the Pacific War.
- Jonathan Parshall and Anthony Tully, Shattered Sword: The Untold Story of the Battle of Midway (Potomac Books, 2005).
- Craig L. Symonds, The Battle of Midway (Oxford University Press, 2011).
- Walter Lord, Incredible Victory (Harper & Row, 1967).